
Wild & Whimsy Activity #2

Cardboard Creations
Have you ever seen a kid or a pet be more excited about a cardboard box than what was originally inside of it?
Well we have and we used the fascination with boxes as inspiration for our next activity.
Now we may not all have a big refrigerator size box laying around our home, but we have included lots of ideas to create something new out of smaller ones.
This post will show you how to make the following:
Fish Tanks
A Medieval Castle
A Pinball Machine
Fish Tanks
Build a home fit for some deep sea creatures.
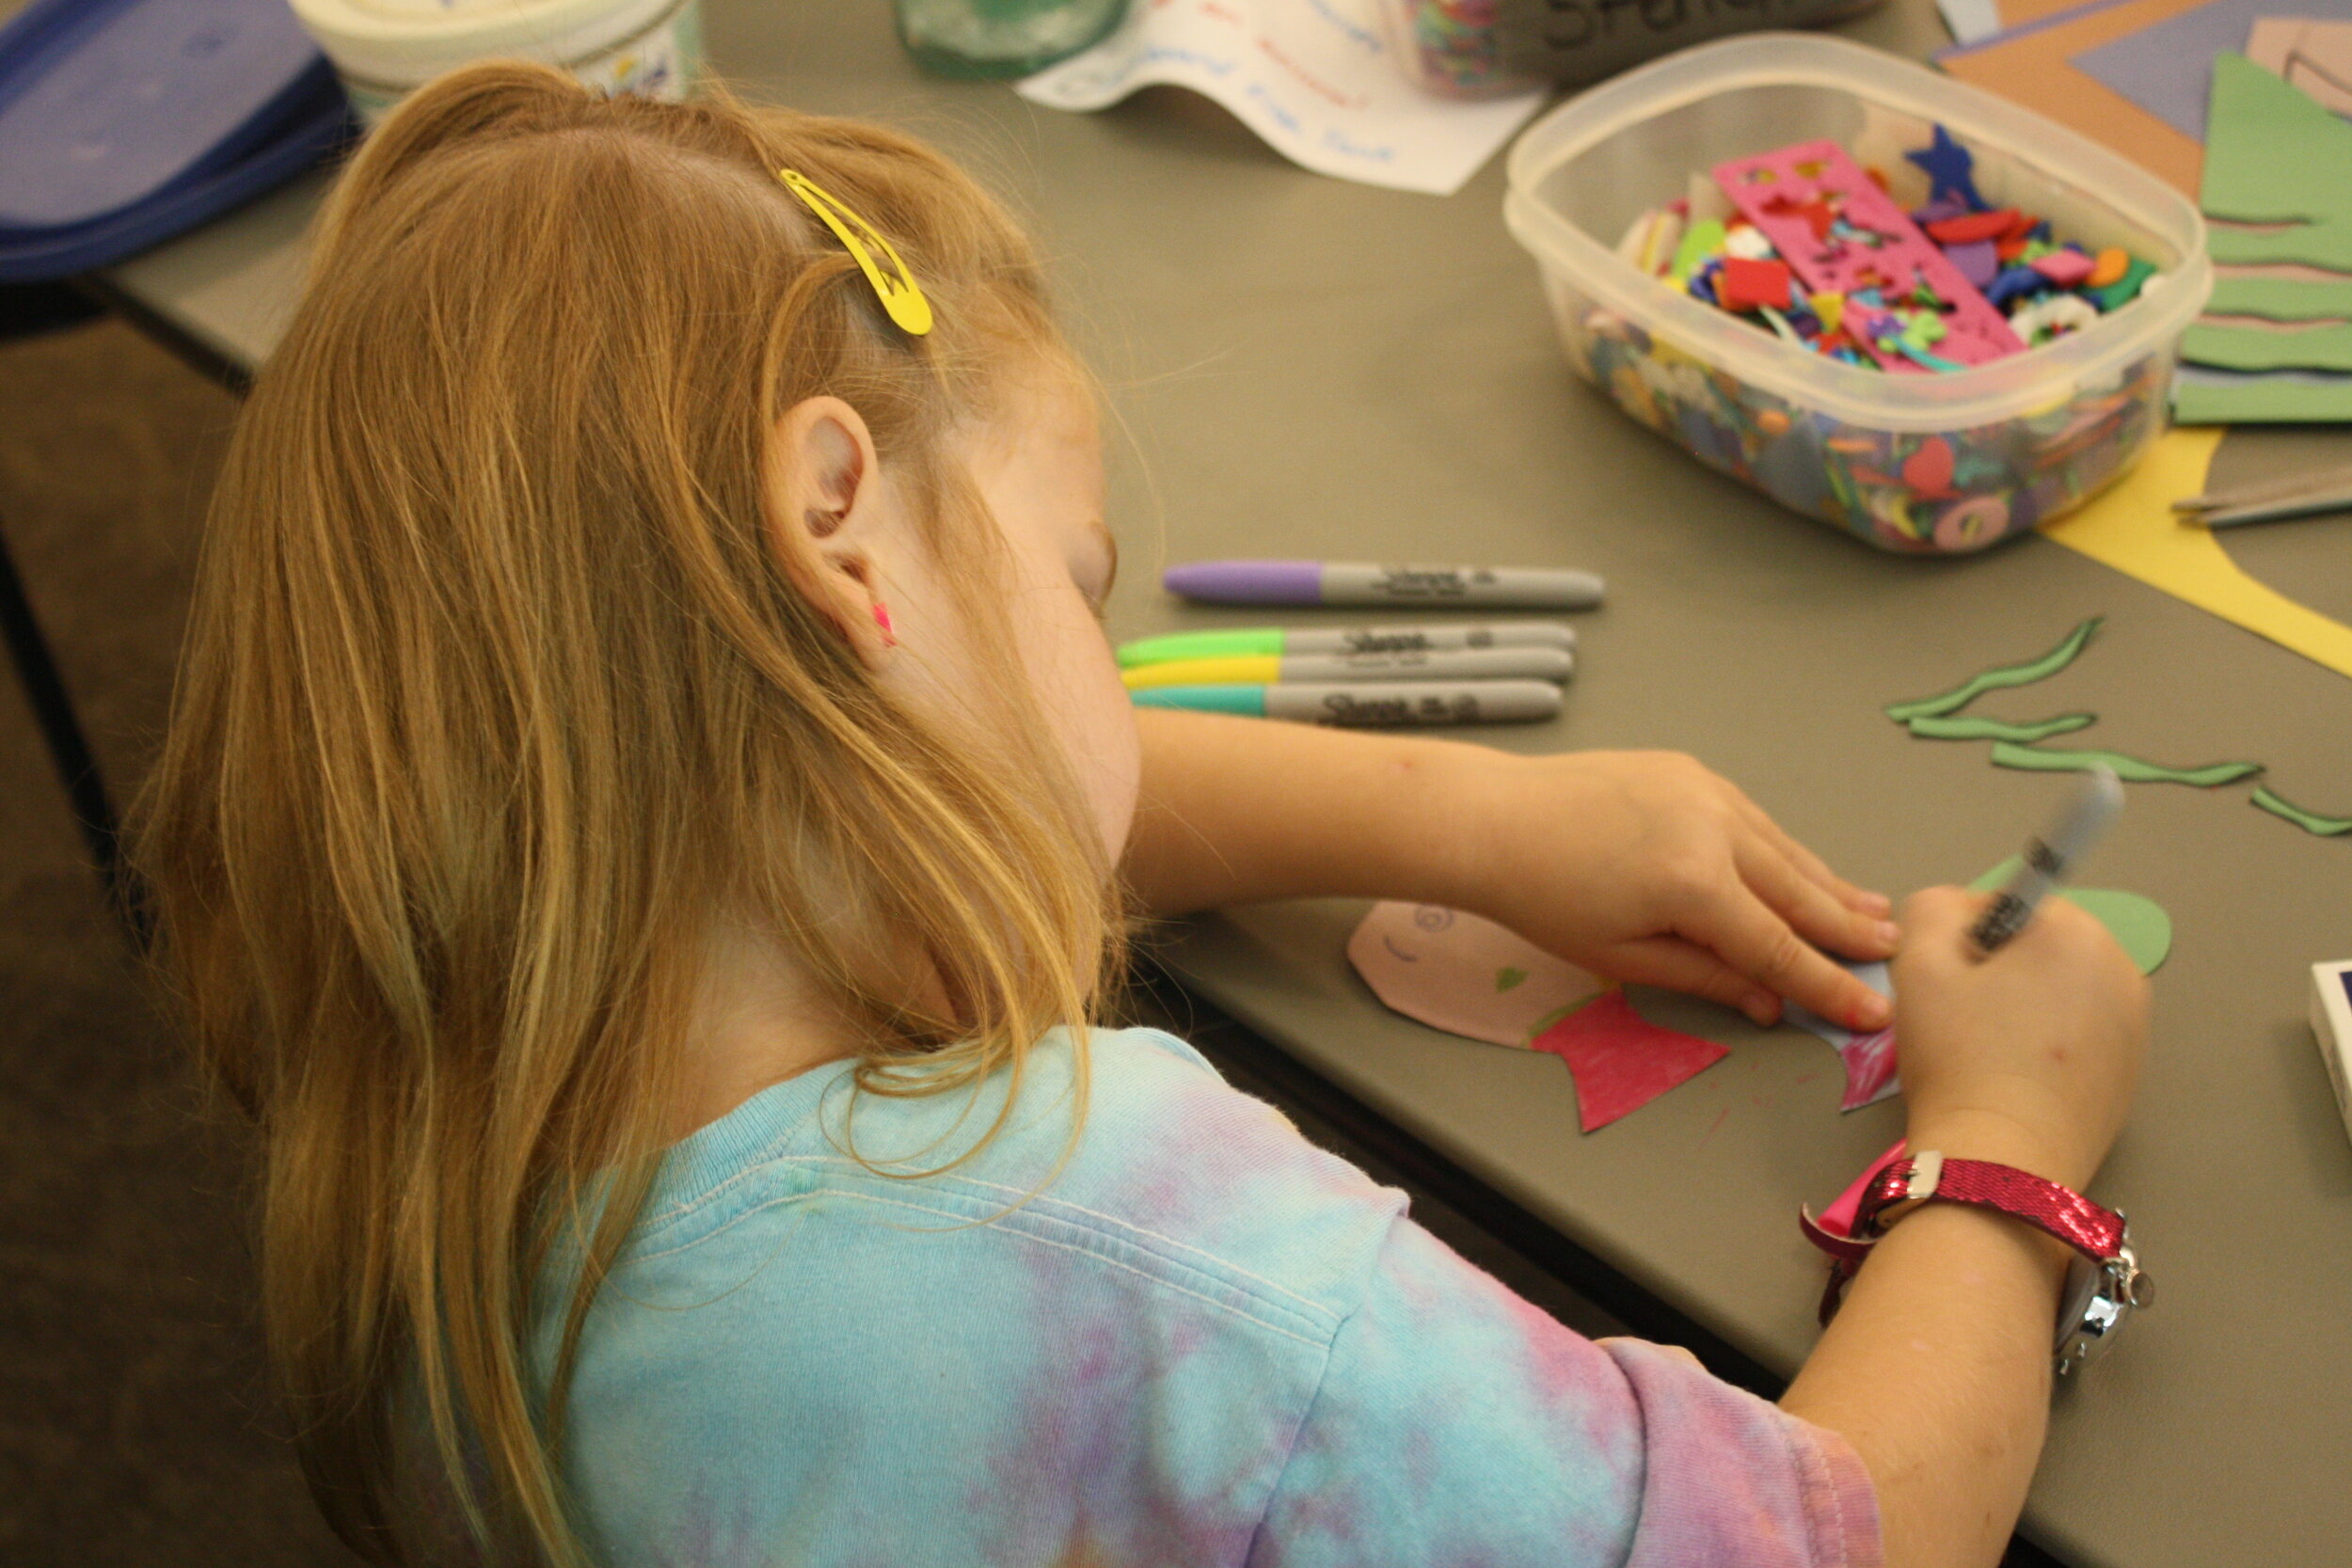
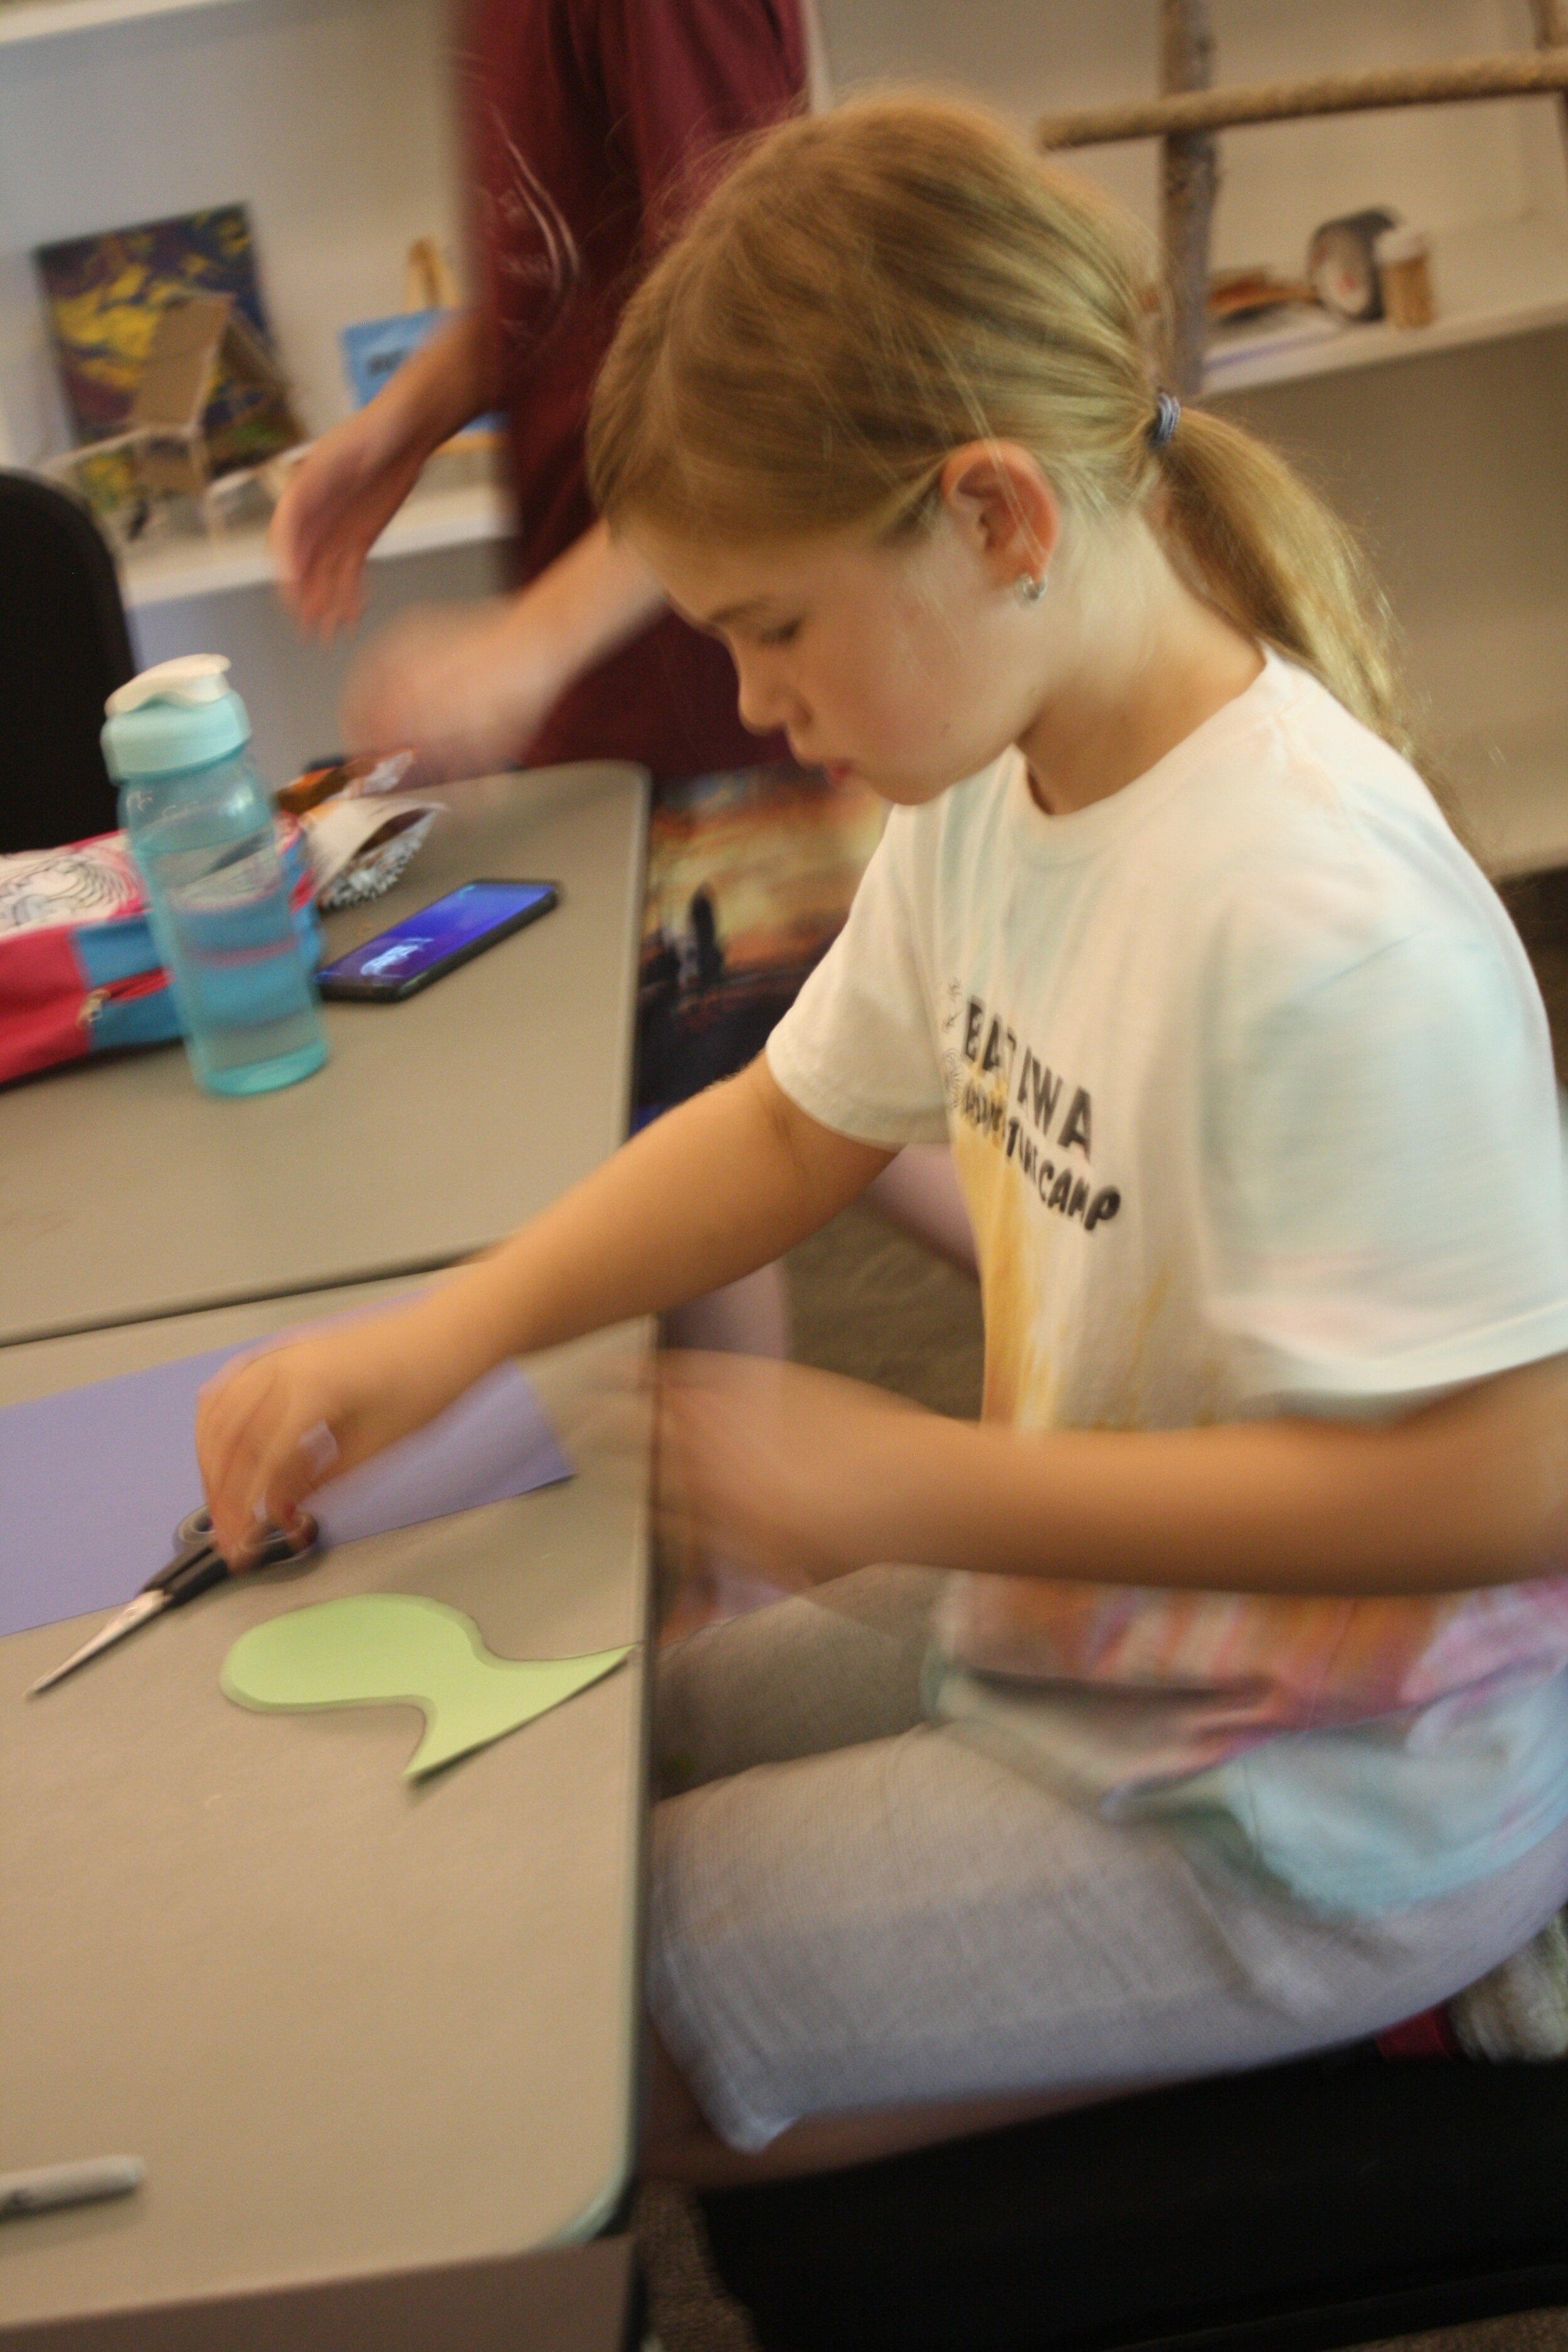
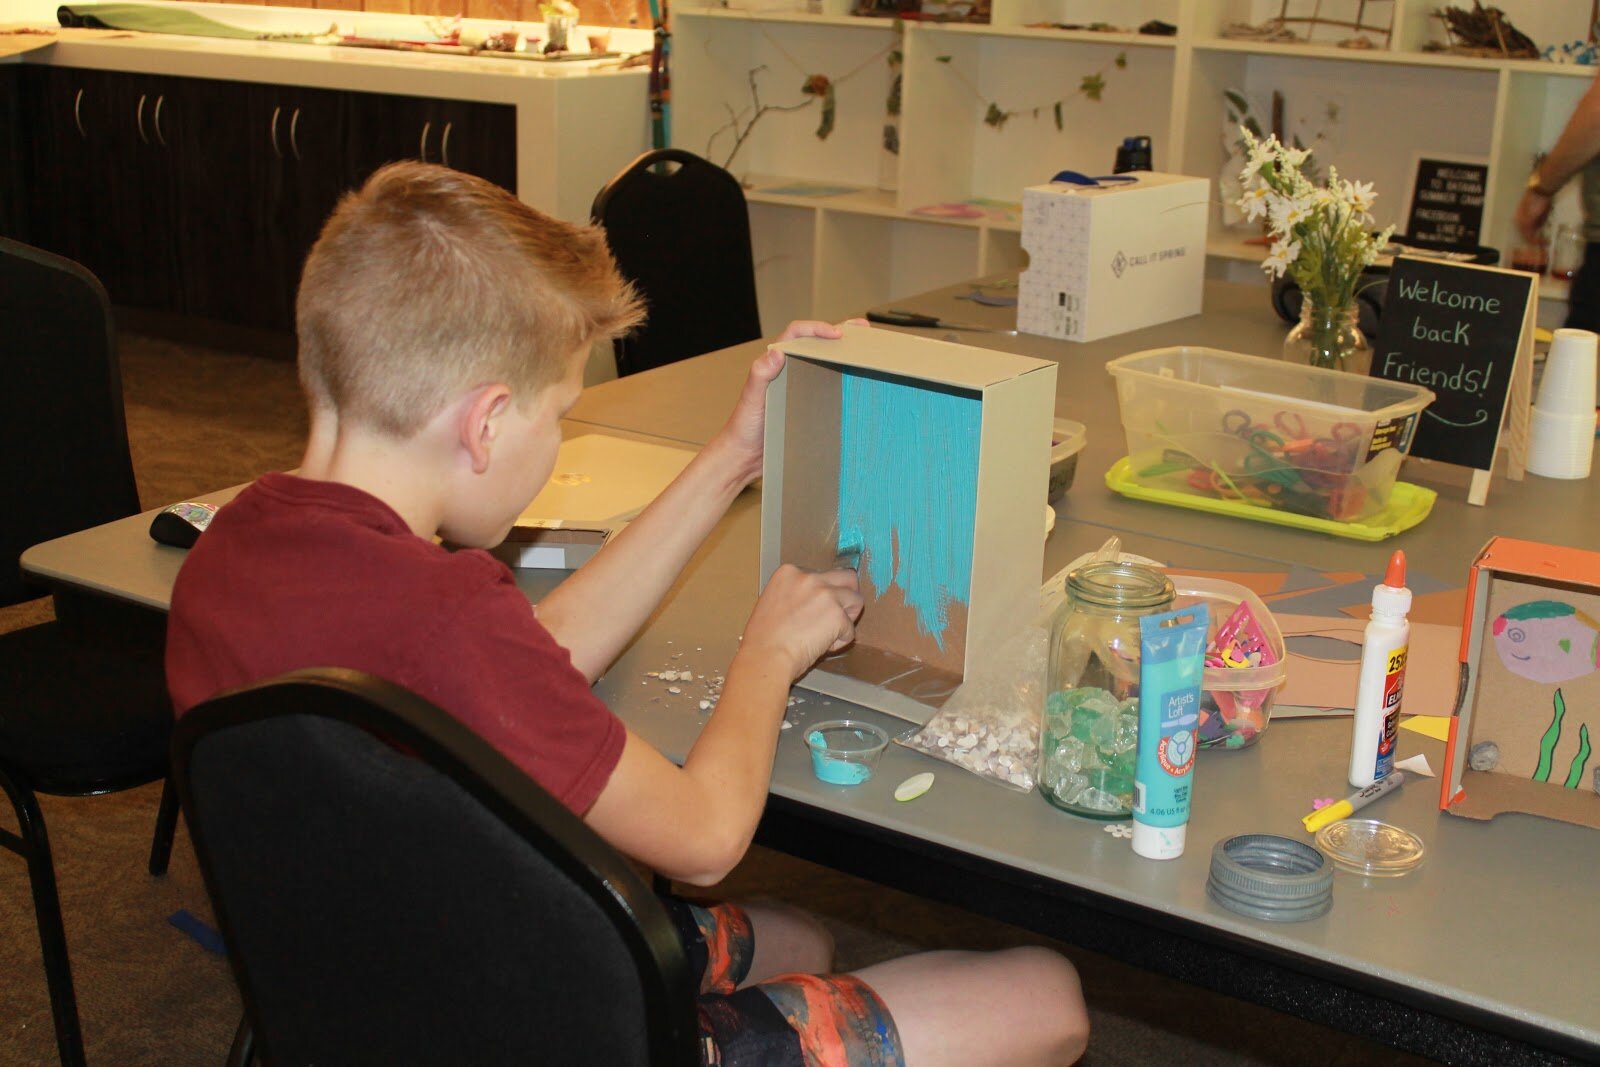
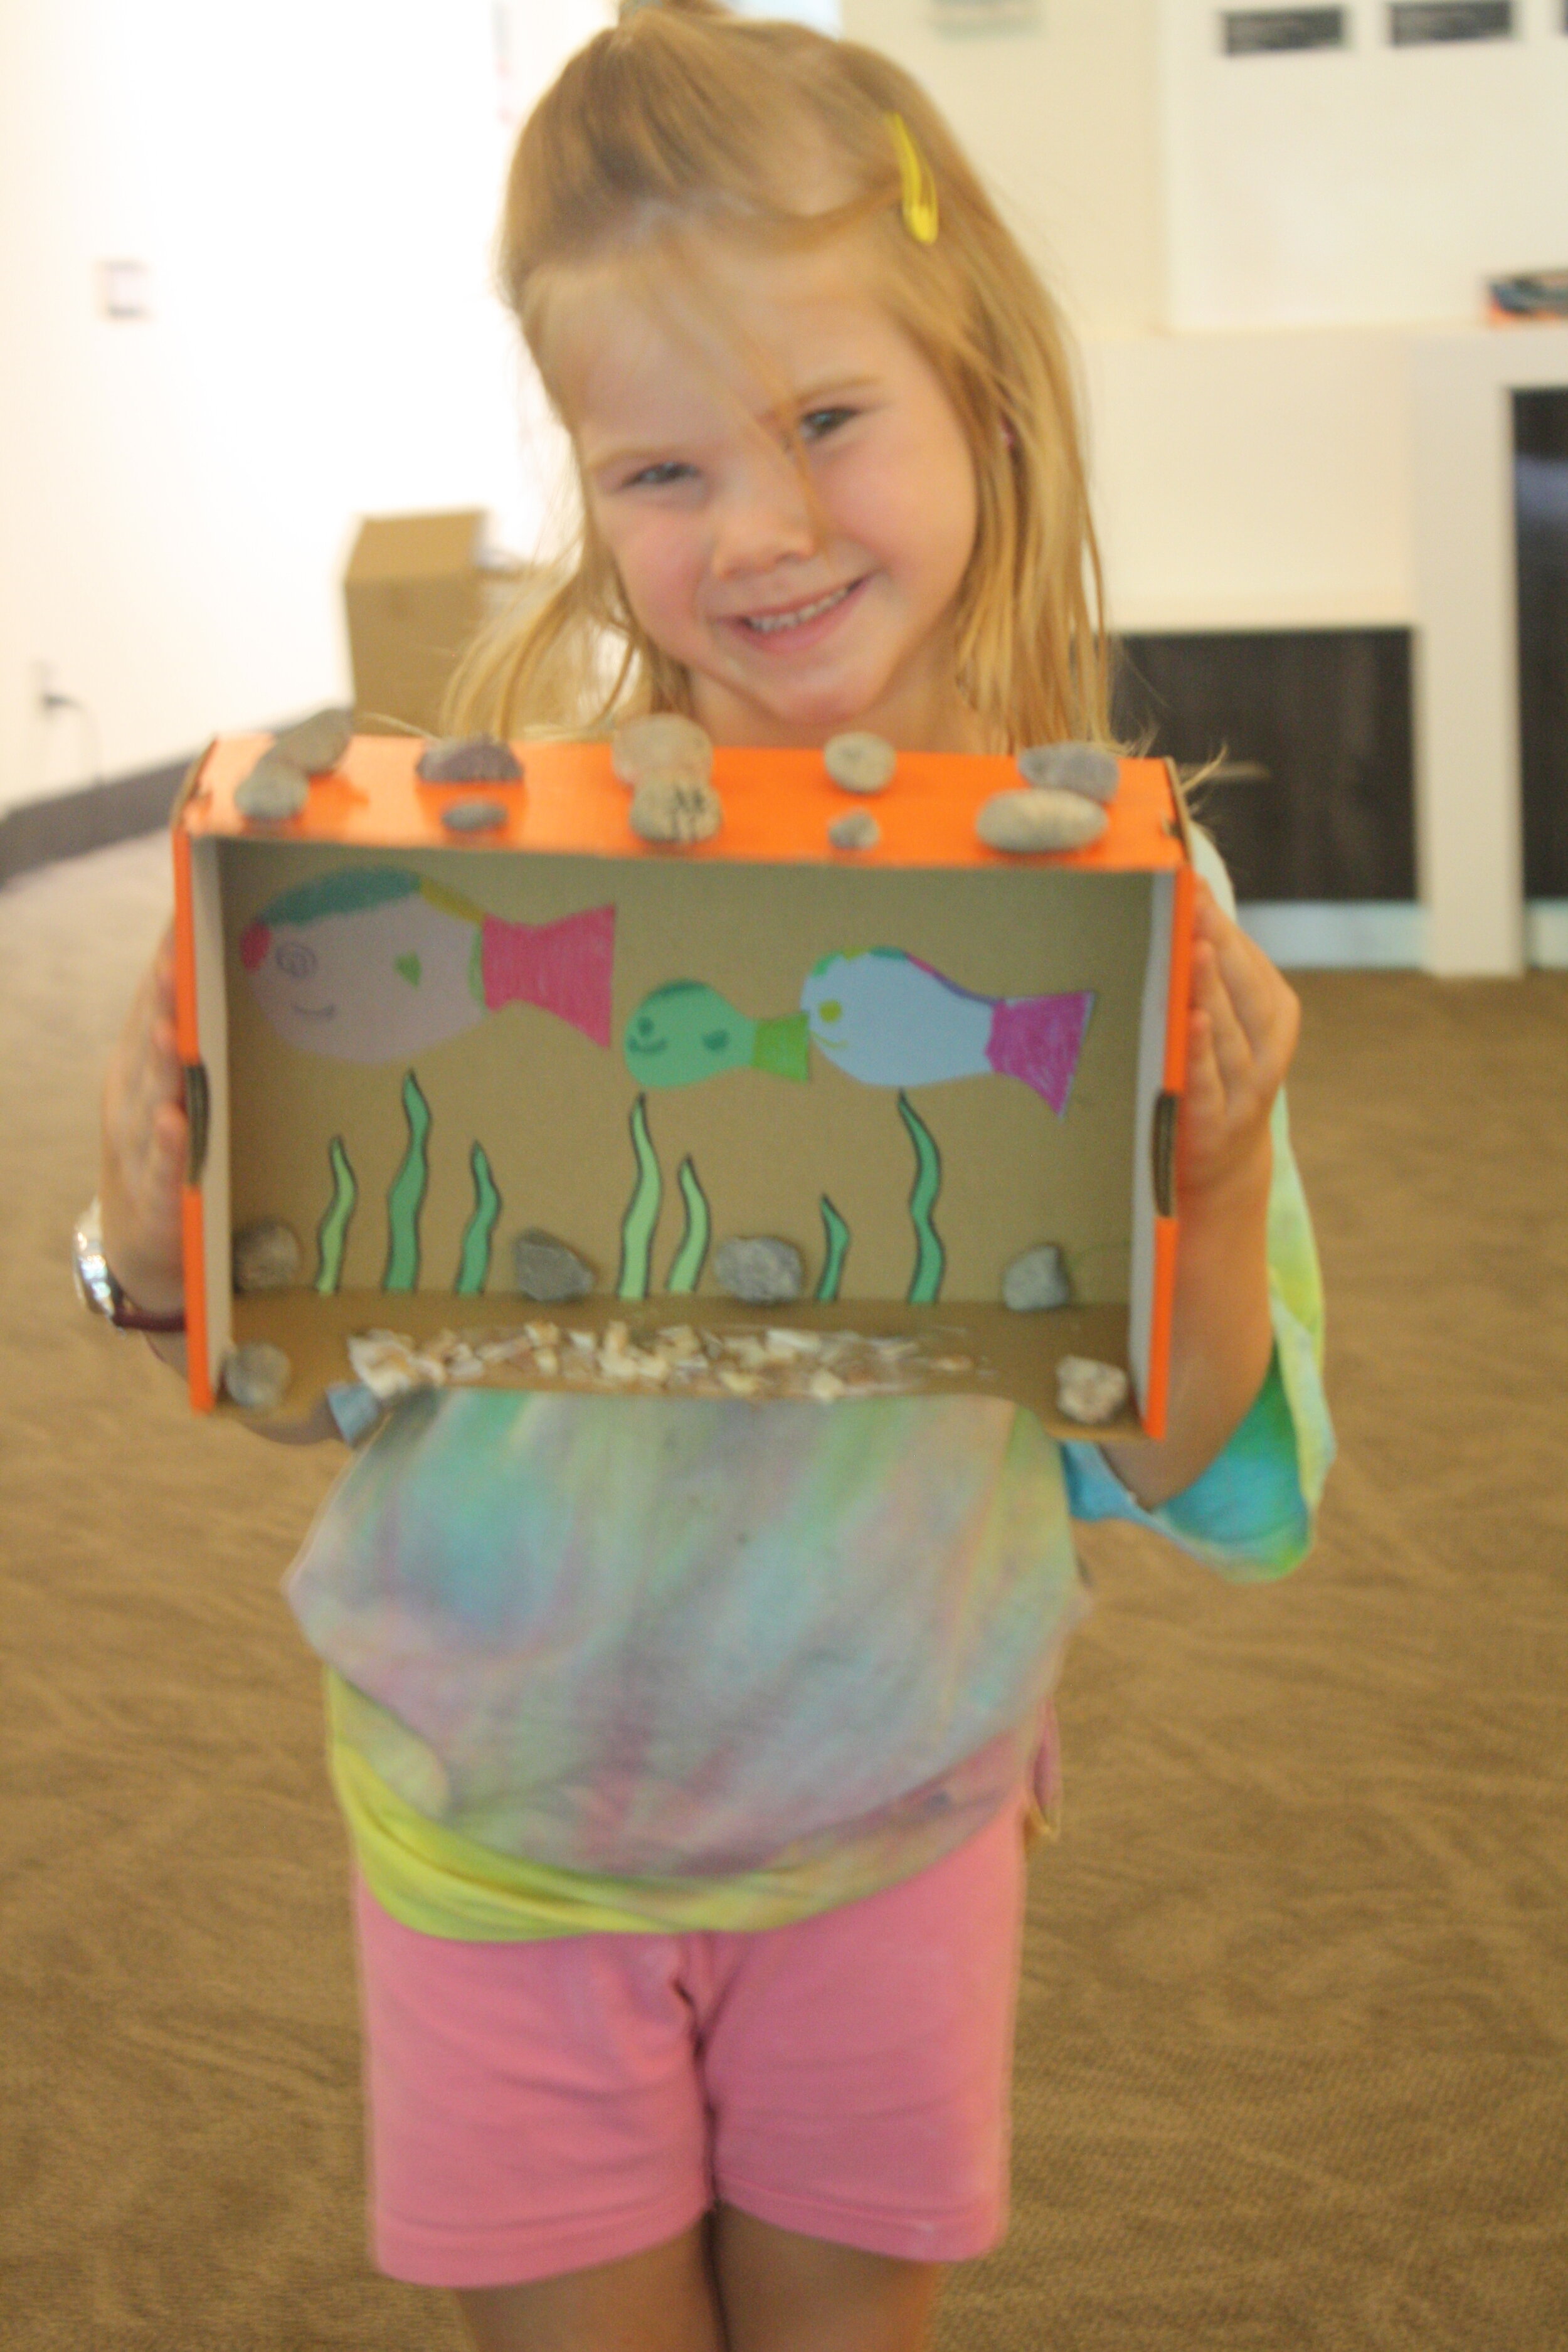
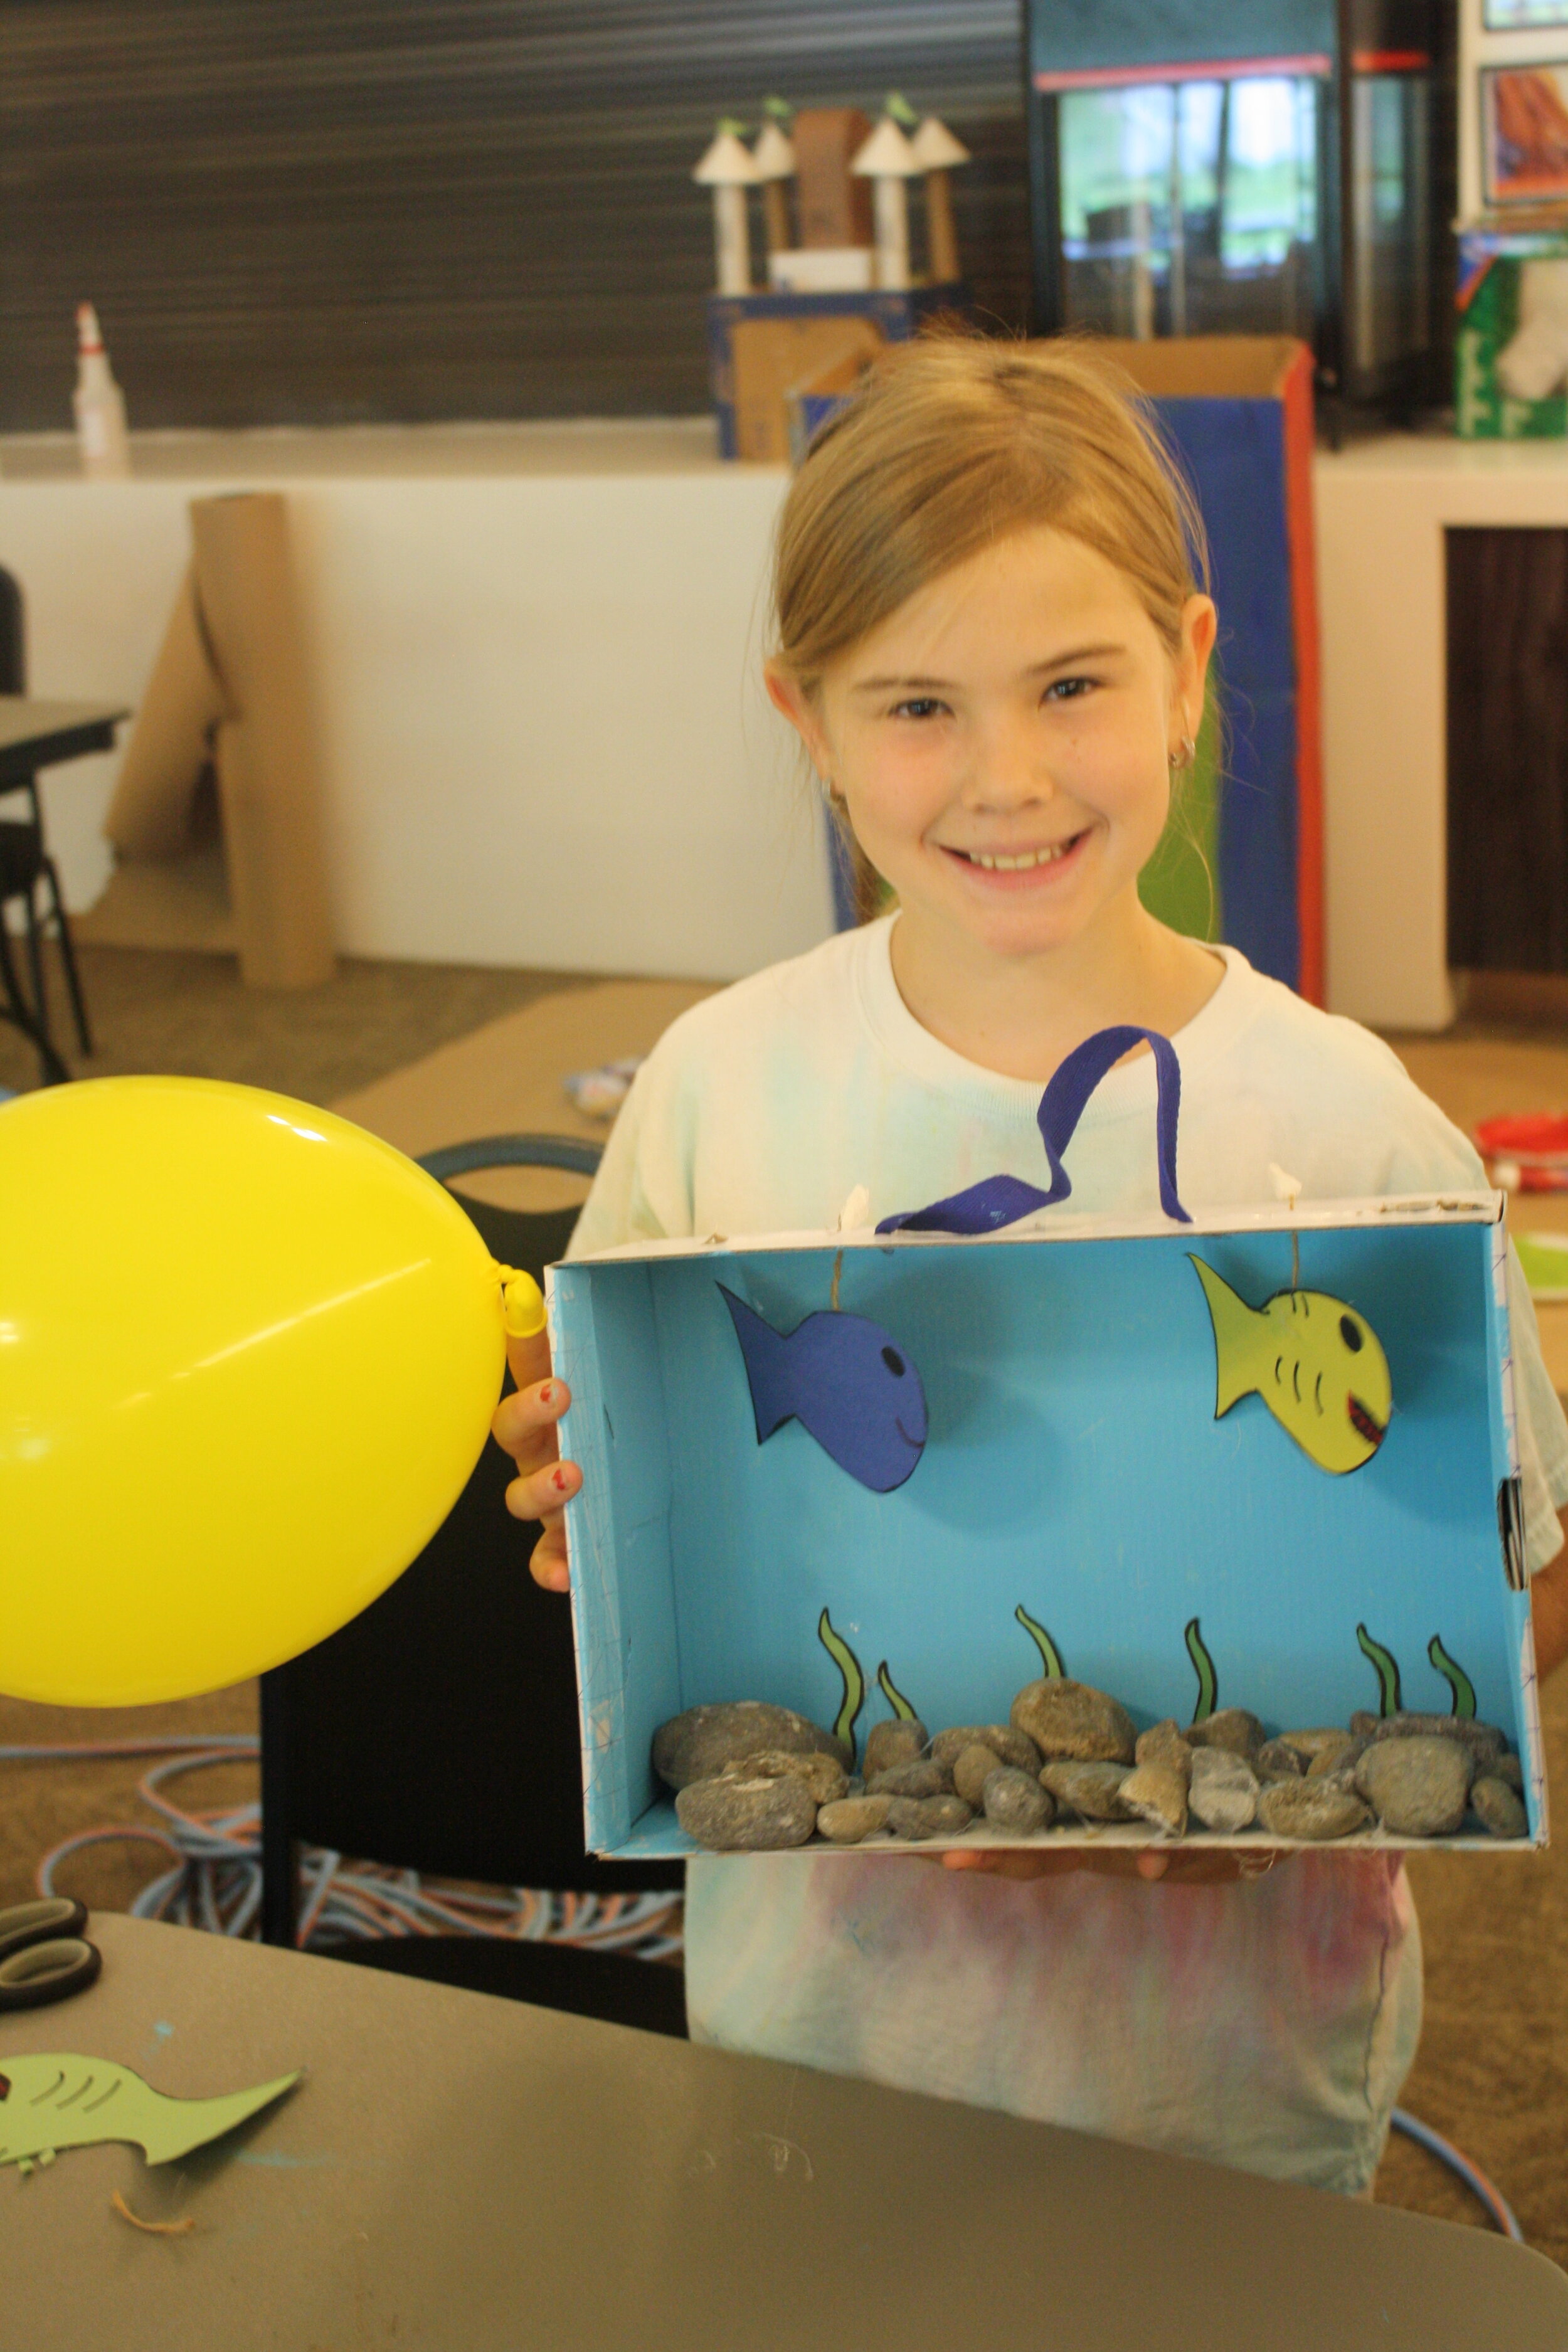
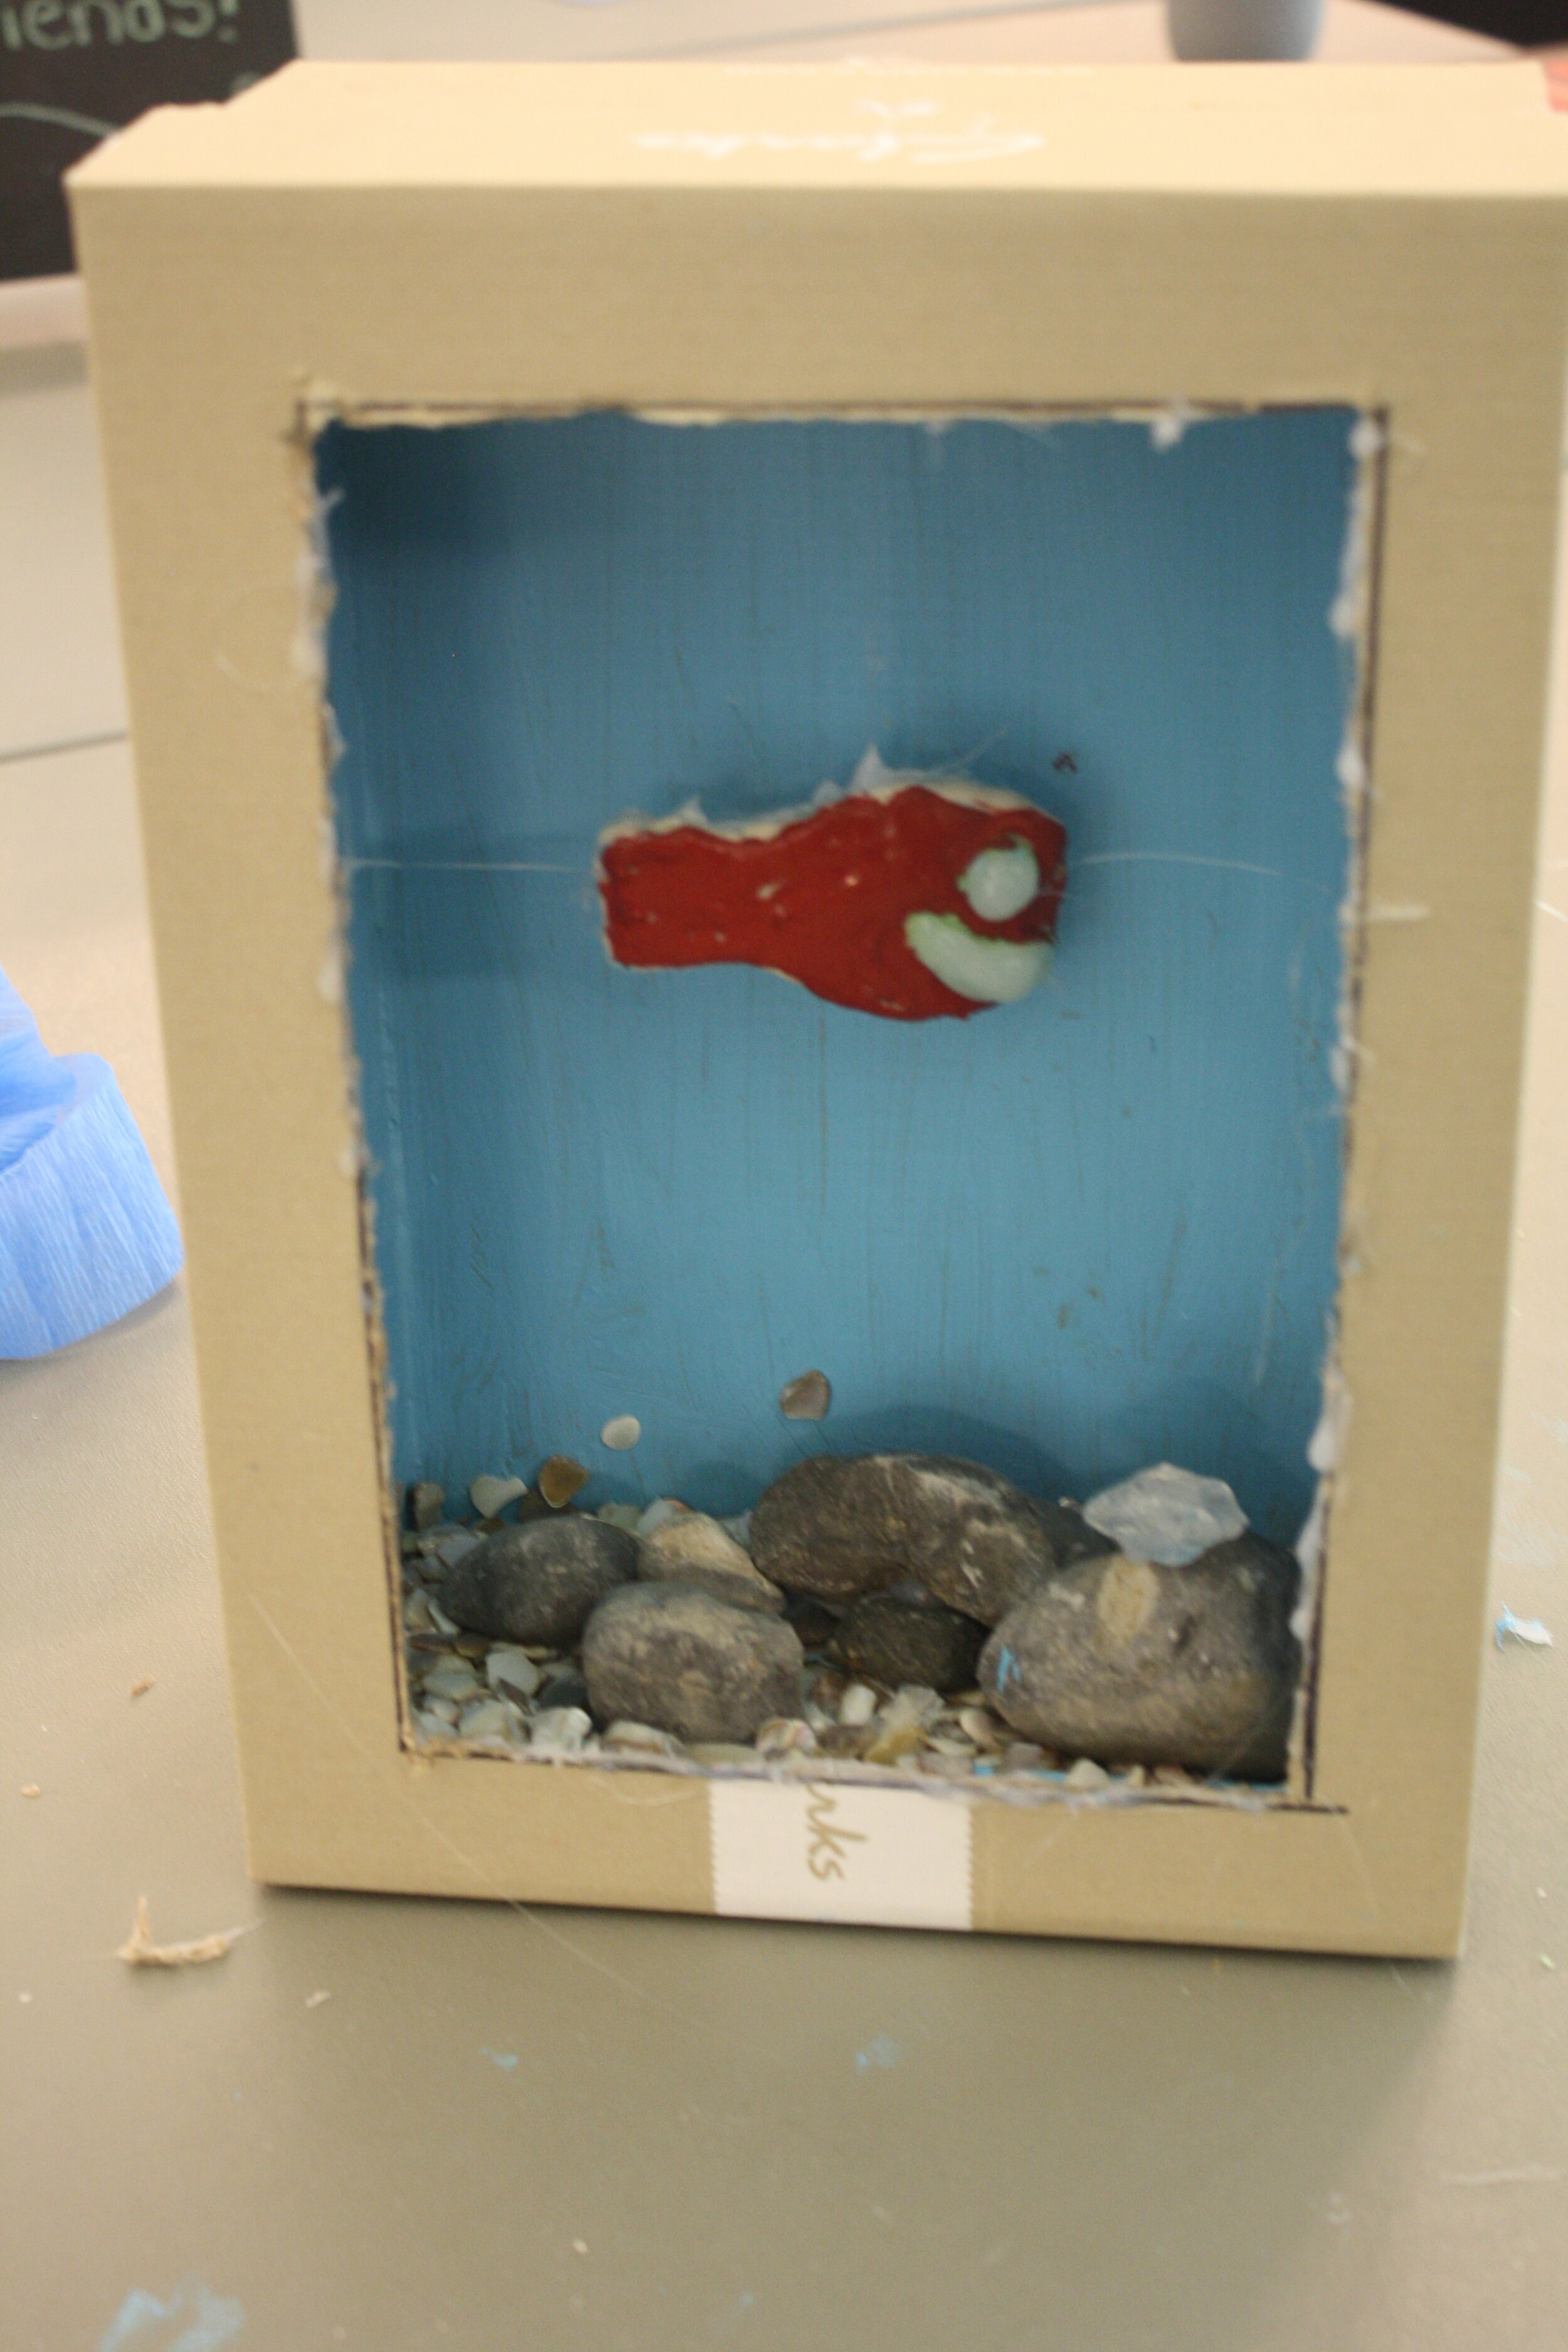
With adult supervision, cut one of the widest sides of a cereal box and leave all other sides intact. (This will act as your glass window to see in the fish tank). You can also use a shoe box- no cutting required!
Using construction or coloured paper, cut out and decorate some fish. The more colourful the better! Tie a piece of string to each fish and then cut out small holes on the top of your box to let your fish hang inside to look like they are swimming. You can even cut a track in the top to be able to move them back and forth.
Add other details like seaweed, a castle, shells, polished stones, or other decorations to make the inside of the box appear more like a fish tank.

Don’t forget to smile! :)
A Medieval Castle
You can really be the King or Queen of the Castle after you build this structure!


Materials you will need:
-1 large, medium, and small sized box
-4 paper towel rolls
-4 paper plates
-construction paper
-scissors
-hot glue
-tape
-toothpicks
-twine or string
-markers or paint
Instructions:
Assemble boxes on top of each other or make a blueprint on a piece of paper to plan out what your castle will look like
Using scissors, carefully (with adult supervision) cut out the middle circle of all 4 paper plates. Cut a slit halfway through the circle and then roll up into a cone (see picture). Tape inside and outside edges.
With each end of paper towel rolls, cut 5 to 6 notches about ½ inch and bend them out (see picture). With adult supervision put a small amount of hot glue on each flap and secure to inside of cone and then to the base of your castle.
Cut a flap on the front of the box that will be your drawbridge. Cut and tie 2 pieces of string on either end to make it stay open.
Finally you can decorate your castle. You can cover up logos from the box with either construction paper or paint. We used markers to add small details like wood for the drawbridge, bricks on the side, and even windows.
Use toothpicks and a triangle piece of paper to make mini flags for the top or any other decorations you can think of!


A Pinball Machine
Bring home the fun from the arcade to your own living room!

Using a shallow box, cut a small marble sized hole in the top right corner- you will be using this hole to drop your marbles in when finished so ensure it is big enough to easily fit a marble through.
With adult supervision, hot glue popsicle sticks to the inside of the box on diagonal angles overlapping each other , directly below the hole, all the way down to the bottom of the box. OR using popsicle sticks or toothpicks, stick several all in the inside of the box sticking straight out to create a “Plinko” style game.
Use markers or construction paper to decorate the inside and outside of the box to make it look like a pinball machine- LOTS of colour makes it look more realistic.
SURPRISE!
As a treat for reading all the way to the bottom we have a bonus activity. If you do have a BIG cardboard box, you could do a lot with it. Owen, Abby, and Lyla our camp helpers wanted to make a house. They started by making a door and painting the outside walls.


Stay tuned- we will be posting more updates as we finish this house later in the summer. As the saying goes, “Rome wasn’t built in day!”